There are nights when you just want something good without the fuss. No boiling a giant pot of water, no waiting around, no mess. Just warm, sweet corn with a little butter melting into every kernel. That is exactly what microwaved sweet corn on the cob gives you, and honestly, once you try it this way, you might never go back to the stovetop.
The Simplicity Behind It
Most people do not think of the microwave as a serious cooking tool, but for corn on the cob, it works beautifully. The husk acts like a natural steamer, trapping moisture and heat around the corn as it cooks. You are not boiling away any of that natural sweetness — you are locking it in. The result is corn that tastes fresh, tender, and a little bit juicy in the best way.
This method became a go-to for anyone who grew up with a busy household. A summer dinner that needs a vegetable side in three minutes flat. A kid who wants corn and will not wait. A person cooking just for themselves who does not want to dirty a pot. It fits all of those moments without asking anything complicated from you.
What Makes This Recipe Work
The magic here is genuinely the husk. Leaving it on during cooking is not laziness — it is the whole point. The husk holds steam inside, which gently cooks the corn from the outside in while keeping it from drying out. By the time it is done, the kernels are plump and sweet, and they pull away from the cob cleanly.
After cooking, you let it rest for about five minutes. That rest period matters more than it sounds. The corn stays incredibly hot inside that husk, and the standing time lets the heat distribute evenly while also cooling it down enough to actually handle. Skip that step and you are going to burn your fingers and end up with unevenly cooked corn.
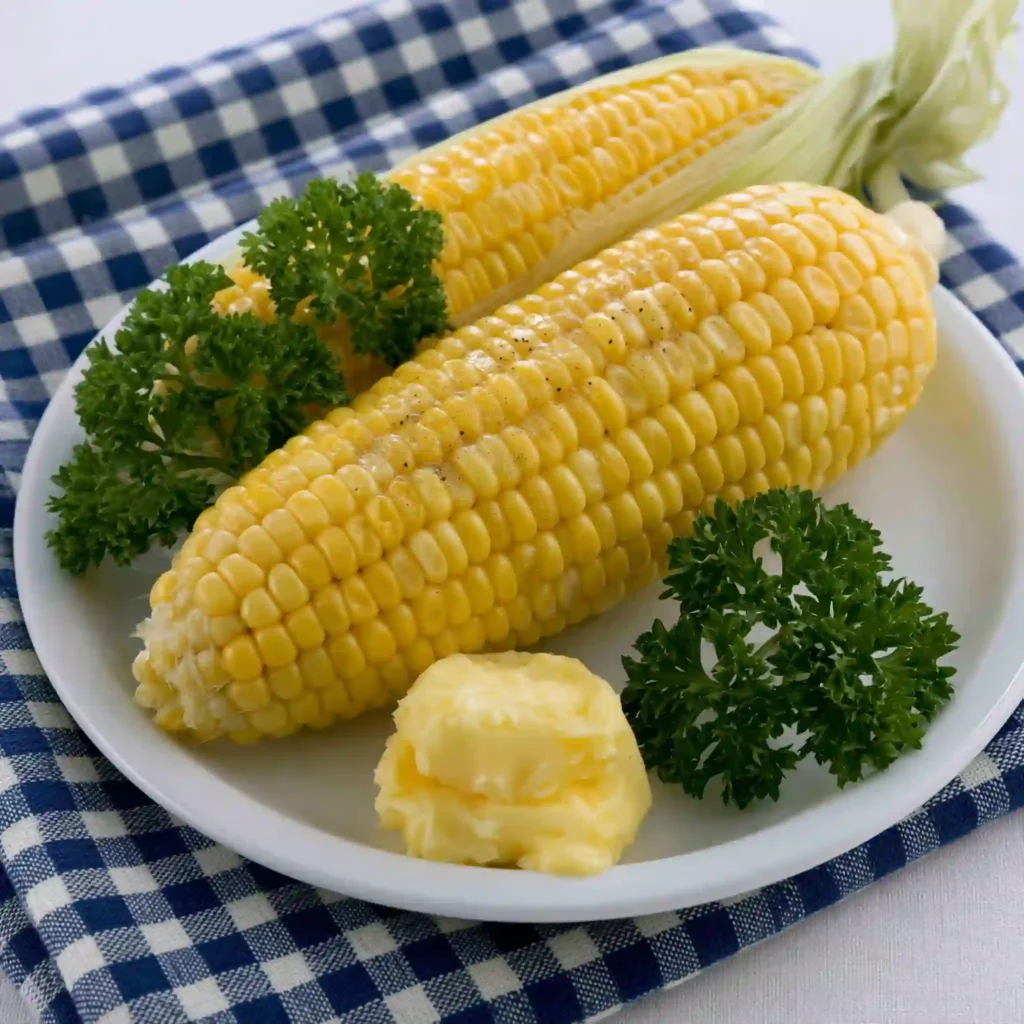
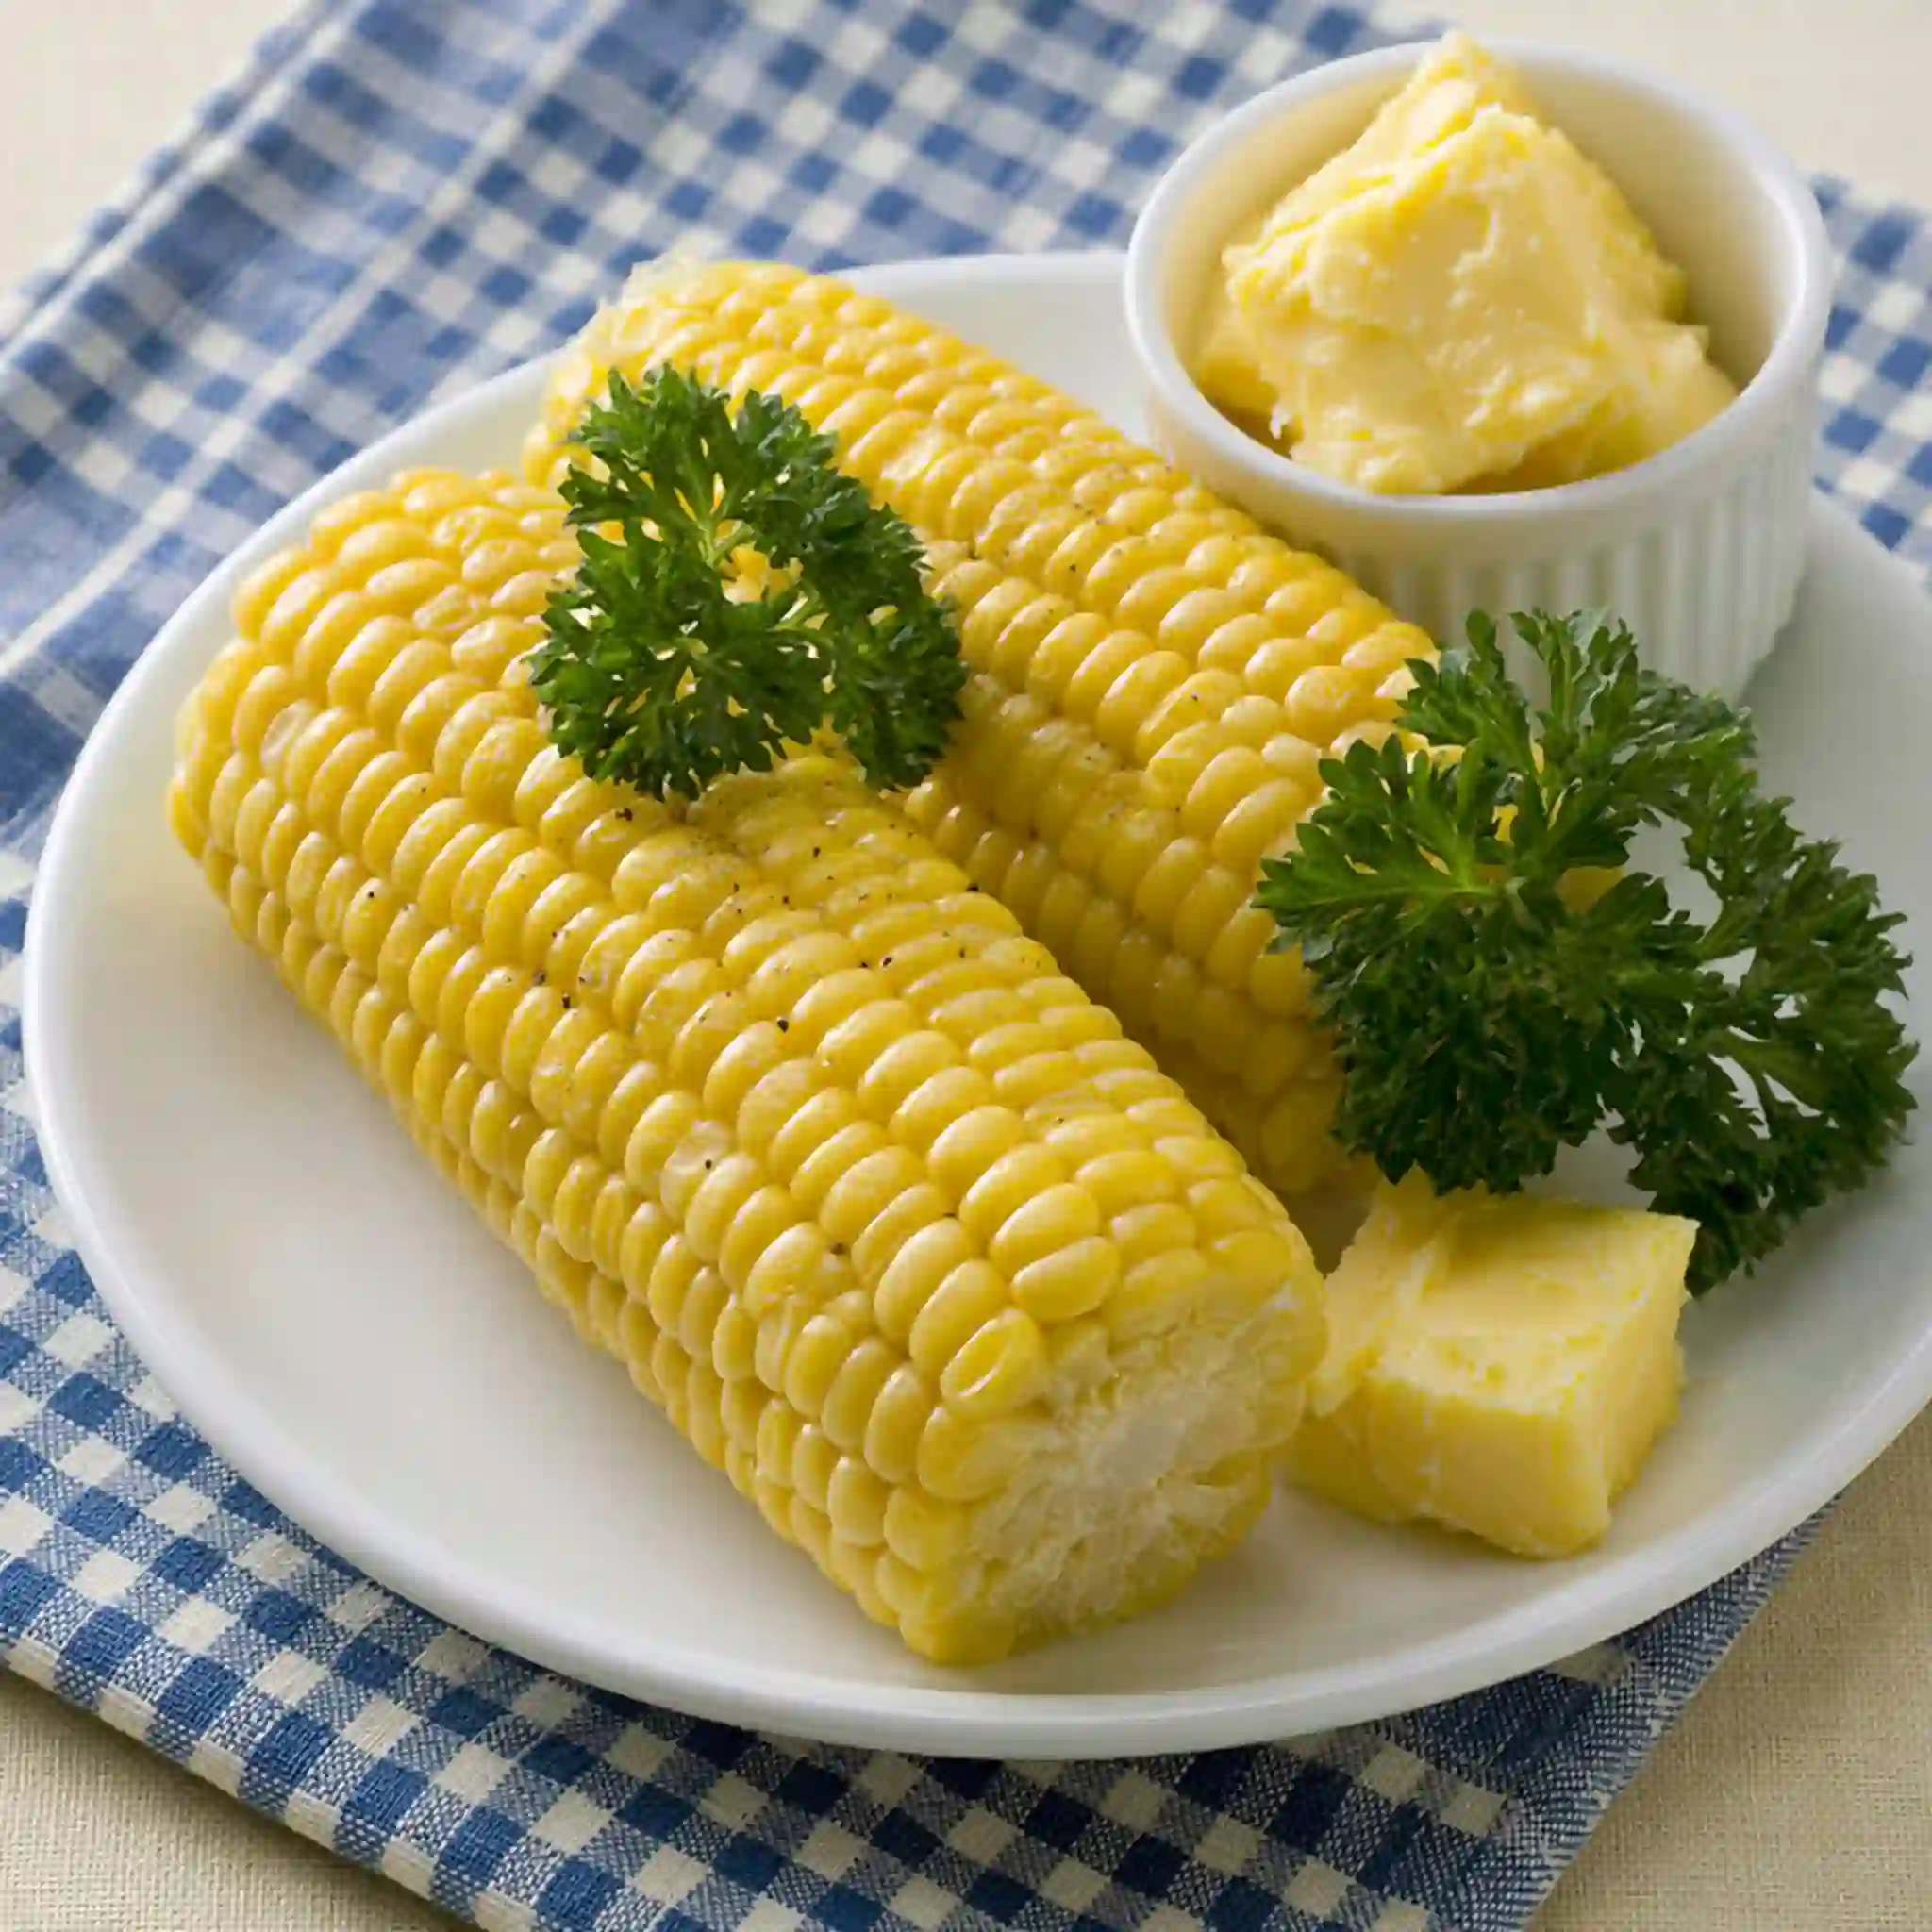
The finishing is simple: black pepper, margarine, and a few sprigs of fresh parsley. The pepper adds a little bite that plays well against the corn’s natural sweetness. The margarine melts into the warm kernels the moment it touches them. The parsley is mostly there for color and a faint herby freshness, but it makes the plate feel put together without any effort.
Making the Recipe at Home
You need exactly one cob of sweet corn with its husk still on. Do not strip it down before cooking — that husk is doing important work.
- Place the whole cob, husk and all, directly in the microwave
- Cook on high power for 2 to 3 minutes per cob
- Let it stand for 5 minutes before touching it
- Peel back the husk carefully — steam will escape, so keep your hands and face back
- Sprinkle with freshly ground black pepper
- Serve with margarine and a few parsley sprigs for garnish
The most common mistake people make is skipping the resting time and then complaining the corn is unevenly hot. Give it those five minutes. Also, every microwave runs a little differently, so if your corn feels underdone after three minutes, give it another thirty to sixty seconds and check again. Fresher, younger corn cooks faster than older corn that has been sitting around.
Adapting the Recipe
There is a fun variation worth knowing about. Instead of removing the husk completely before serving, you can peel it back carefully to form a handle. Trim the pulled-back husk to about 10 centimeters, and now you have a built-in corn holder. Kids love this. It makes the whole thing feel a little more casual and less like a dinner table obligation.
For the seasoning, black pepper is the classic move here, but you can take it in different directions depending on your mood. A pinch of smoked paprika gives it a subtle warmth. A little chili flakes bring some heat. Garlic powder and a squeeze of lime juice pull it toward something more summery and bright. The base method stays the same — it is just the finishing that changes.
If you prefer butter over margarine, that works perfectly. Salted butter in particular adds another layer of flavor that complements the sweetness of the corn really well. Margarine is lighter and melts quickly, which some people prefer, but this is genuinely a choose-your-own-fat situation.
Serving and Enjoyment
Microwaved sweet corn on the cob is best served immediately, right after that five-minute rest. Corn cools down quickly once the husk is off, and hot corn with melting margarine is a completely different experience from lukewarm corn that has been sitting on a plate.
This fits naturally into a weeknight dinner as a side dish alongside grilled chicken, a simple salad, or even just a sandwich. It also works as a quick snack during summer when corn is at its peak and you want something satisfying without committing to a full meal. Because you are cooking one cob at a time, it scales easily — cook as many as you need, one after another, each getting its own time in the microwave.
Storage and Leftovers
If you end up with leftover cooked corn, let it cool completely and wrap it tightly or store it in an airtight container in the refrigerator. It will keep well for about two days.
Reheating is easy enough — another minute or two in the microwave does the job. The texture will be slightly softer than when it was freshly cooked, and it will not have that just-steamed quality anymore, but it is still good. A little extra margarine or butter added during reheating helps bring back some of that richness.
Leftover corn also cuts off the cob beautifully for other uses. Toss it into a salad, stir it into a quick corn salsa, or mix it into scrambled eggs the next morning. It is versatile enough that nothing has to go to waste.
FAQ
Do I have to leave the husk on?
Yes, for this method, the husk is essential. It traps the steam that cooks the corn and keeps it from drying out. If you remove it before cooking, the corn can turn rubbery.
How do I know when the corn is done?
Two to three minutes per cob on high power is a solid guide. The husk will look slightly darker and feel hot to the touch. After the resting period, the kernels should feel tender when you press gently through the husk.
Can I cook more than one cob at a time?
Yes, though you will need to add more time. Cook about 2 to 3 minutes per additional cob, and keep an eye on it. Rearrange them halfway through if your microwave does not have a rotating plate.
Is margarine necessary, or can I use something else?
Margarine is just the finishing fat here. Butter, olive oil, or even a dairy-free spread all work fine. Use what you have and what you like.
What if I do not have parsley?
Skip it entirely or swap in whatever fresh herb you have around — chives, cilantro, or a little basil all work. The parsley is purely for garnish, so leaving it out does not change the flavor.
Cooking does not always need to be a production. Sometimes the best version of a dish is the one you can pull together on a Tuesday evening without breaking a sweat. Microwaved sweet corn on the cob is exactly that kind of recipe — quick, reliable, and genuinely satisfying. Give it a try the next time you have a cob sitting on your counter and not much time to spare. It might just become your new default.

Ingredients
Method
- Place the entire sweet corn cob, including husk, in the microwave.
- Cook on high power allowing 2-3 minutes per cob.
- Allow to stand 5 minutes to allow the sweet corn to cool down enough to hold.
- Remove husk.
- Sprinkle with black pepper.
- Serve with margarine and garnish with parsley.
- Variation: Leave husk on cob, peel back to form a handle and trim to 10 cm.